How to Choose the Right Chamfering Cutter for Your Needs
Choosing the right Chamfering Cutter is a small decision with measurable consequences. It affects edge quality, cycle time, tool life, and operator confidence. A 45-degree cutter may suit a general deburring task, yet it can fail on hardened steel or thin-wall aluminum. Material, chamfer angle, diameter, spindle speed, feed rate, and machine rigidity must work together.
Industry data supports this careful approach. Grand View Research and MarketsandMarkets both identify cutting tools as a major global manufacturing market, valued in the tens of billions of dollars and expected to grow with advanced machining demand. Their reports also highlight automation, precision production, and longer tool life as important purchasing drivers. The U.S. Cutting Tool Institute’s monthly consumption reports provide another useful signal, showing how closely tool demand follows activity in automotive, aerospace, medical, and general engineering sectors. These reports do not select a cutter for one specific part. They show why selection deserves technical attention.
The practical question is simple: what must the cutter achieve? Carbide tools often provide better wear resistance during continuous production, while high-speed steel can remain economical for lighter work. Coatings may improve performance, but they are not magic. A coated tool can still chip when run with poor coolant or excessive feed. I have seen specifications look correct on paper, yet the finished edge remained rough. That is why trial cuts, inspection records, and manufacturer recommendations matter. The best Chamfering Cutter is not always the most expensive option. It is the one that matches the workpiece, machine, geometry, and production target with dependable evidence.
Define Chamfer Geometry: Compare 45°, 60°, and 90° Cutter Angles
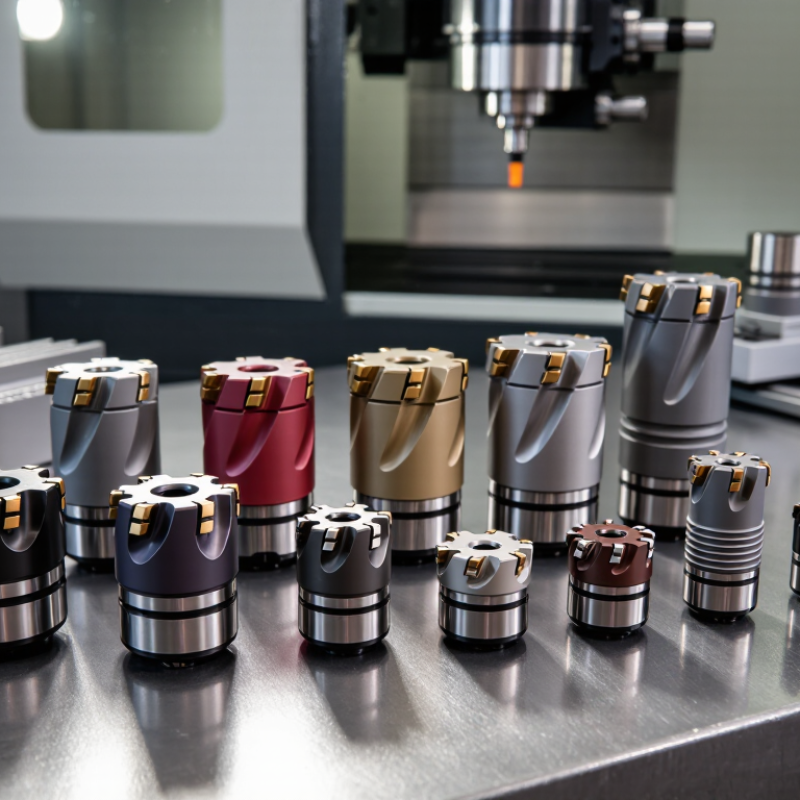
Choosing a chamfering cutter starts with the angle, not the tool holder. Confirm how the manufacturer defines it. Some catalogs list the included angle, while others describe one cutting face. A 90° included-angle cutter creates a 45° chamfer on each side. A 60° cutter produces approximately 30° per side. A 45° cutter produces approximately 22.5° per side. That detail matters.
Use 45° cutters when a narrow, gentle edge break is needed on small holes or thin parts. A 60° geometry can suit compact countersinks and transitional edges where space is limited. The 90° option is common for visible chamfers, deburring, and strong edge definition. On a steel housing, for example, a 1 mm chamfer may look clean with 90°, but it can remove more material than expected. Measure twice.
The U.S. Cutting Tool Institute and AMT reported roughly 2.5 billion dollars in U.S. cutting-tool consumption in 2023, showing the scale of professional machining demand. However, market size does not choose the angle for you. Test the cutter on scrap material first. Check burr formation, surface tearing, spindle load, and the finished width. I still see machinists trust the angle label too quickly. Material hardness, tool runout, and feed rate can change the result. For reliable selection, record the actual chamfer width after the first pass, then adjust cautiously.
Match Cutter Material to Workpiece Hardness and Cutting Conditions
Choosing a chamfering cutter starts with workpiece hardness, not cutter price. The World Steel Association reported about 1.89 billion tonnes of crude steel production in 2023. That figure reflects huge variation in machinability. Mild steel usually suits tough carbide or high-speed steel cutters. Hardened steel above 45 HRC needs a wear-resistant carbide grade, ceramic, or cubic boron nitride. CBN becomes more practical near 55–65 HRC, especially during stable, continuous cuts.
Material hardness is only half the decision. Interrupted edges, scale, vibration, and dry cutting can destroy a brittle cutter quickly. Carbide often gives a useful balance between edge strength and wear resistance. PCD performs well on aluminum and abrasive composites, but it is a poor choice for ferrous steel. The U.S. Geological Survey’s Mineral Commodity Summaries 2024 reported approximately 81,000 metric tons of mined tungsten production worldwide in 2023. Tungsten carbide remains valuable, but higher carbide content does not automatically mean better performance.
Match the cutter to the machine. A rigid spindle and controlled feed allow harder cutting materials to work efficiently. A flexible setup needs a tougher edge and lighter engagement. I recheck hardness after heat treatment; suppliers’ nominal values can hide local variation. Keep the chamfer width small during trials, inspect the edge after every few parts, and record burr size, temperature, and tool wear. These simple notes often reveal a mismatch before scrap increases. Reference data: World Steel Association, World Steel in Figures 2024; U.S. Geological Survey, Mineral Commodity Summaries 2024.
How to Choose the Right Chamfering Cutter for Your Needs
Match cutter material to workpiece hardness and cutting conditions. The chart shows representative starting surface-speed values for chamfering, expressed in metres per minute (m/min). Actual settings should be adjusted for cutter diameter, rigidity, coolant, depth of cut and machine capability.
How to read the chart: HSS is suitable for lower-speed work and softer materials. Carbide supports higher cutting speeds and is generally preferred for alloy and hardened steels. Coated carbide can provide better wear resistance under demanding continuous cutting conditions, while PCD is primarily intended for non-ferrous materials such as aluminium and should not normally be used on ferrous steel.
Select Diameter and Flute Count for Required Chamfer Width
Diameter and flute count directly affect chamfer width, rigidity, chip control, and machining time. A larger cutter usually deflects less, producing a steadier edge on steel parts. However, diameter alone does not set the final chamfer width. For a 90-degree cutter, width mainly depends on axial depth and tool geometry. Measure the first part carefully. Small depth changes can create visible differences on a 0.5 mm chamfer.
Flute count changes how the cutter handles chips. A two- or three-flute tool leaves more space for chip evacuation, especially in aluminum or interrupted cuts. Four or more flutes can support higher feed rates in stable steel machining, but they demand better coolant access and machine rigidity. Feed should be calculated from spindle speed, flute count, and feed per tooth. More flutes do not automatically mean better results.
The 2023 U.S. Cutting Tool Consumption Report from AMT and USCTI recorded approximately 2.77 billion dollars in industry consumption. Grand View Research estimated the global cutting-tool market at about 23.5 billion dollars in 2023. These figures show the scale of tooling demand, but they cannot replace a controlled trial. I would not trust a catalog chart blindly. Check clearance, workholding, burr formation, and the actual chamfer after ten parts. A smaller diameter may work better near a shoulder, even when a larger cutter appears more rigid. The practical choice is sometimes less elegant.